
How to Select Reliable Car Audio Wiring Kits
Last Updated: November 10, 2026
Quick Summary
Select reliable car audio wiring by sizing the power and ground wire to your amplifier's fuse rating and cable length, then confirming the conductor is OFC rather than CCA. Fuse the power wire at the battery end at or below the wire's current capacity, and keep power and signal cables separated.
- A kit's ground wire should match the power wire gauge, never smaller.
- For runs of 15 to 20 feet, move two gauges thicker than the short-run recommendation.
- Check the cut end: true OFC is copper-colored throughout, while CCA shows a silver core.
- Mount the inline fuse holder within a short distance of the battery positive terminal.
- Route RCA signal cables down the opposite side of the vehicle from the power wire.
Table of Contents
- Why the Wiring Kit Decides How Your System Performs
- Car Audio Wiring Kit Components and What Each One Does
- Reading a Car Audio Wire Gauge Chart Correctly
- OFC vs CCA Car Audio Wire: What the Conductor Actually Tells You
- Fuse Rating and Placement as a Safety Procedure
- What a Car Audio Wiring Diagram Should Show Before You Cut Anything
- Routing, Pass-Throughs, and Abrasion Protection by Vehicle
- Bring Your Amplifier Specs In and We Will Size the Kit
- Frequently Asked Questions
Why the Wiring Kit Decides How Your System Performs
Selecting reliable car audio wiring kits is the single most overlooked decision in a system build. Amplifiers, speakers, and head units get all the attention, yet the wire feeding them determines whether that gear ever reaches its rated output.
Here is the uncomfortable truth most buying guides skip: a wiring kit is not an accessory. It is the electrical foundation of your car audio system.
Below, we break down exactly how to read a kit, size the wire, verify the conductor, and fuse it safely, so you can buy once instead of replacing a cheap kit in six months.
Car Audio Wiring Kit Components and What Each One Does
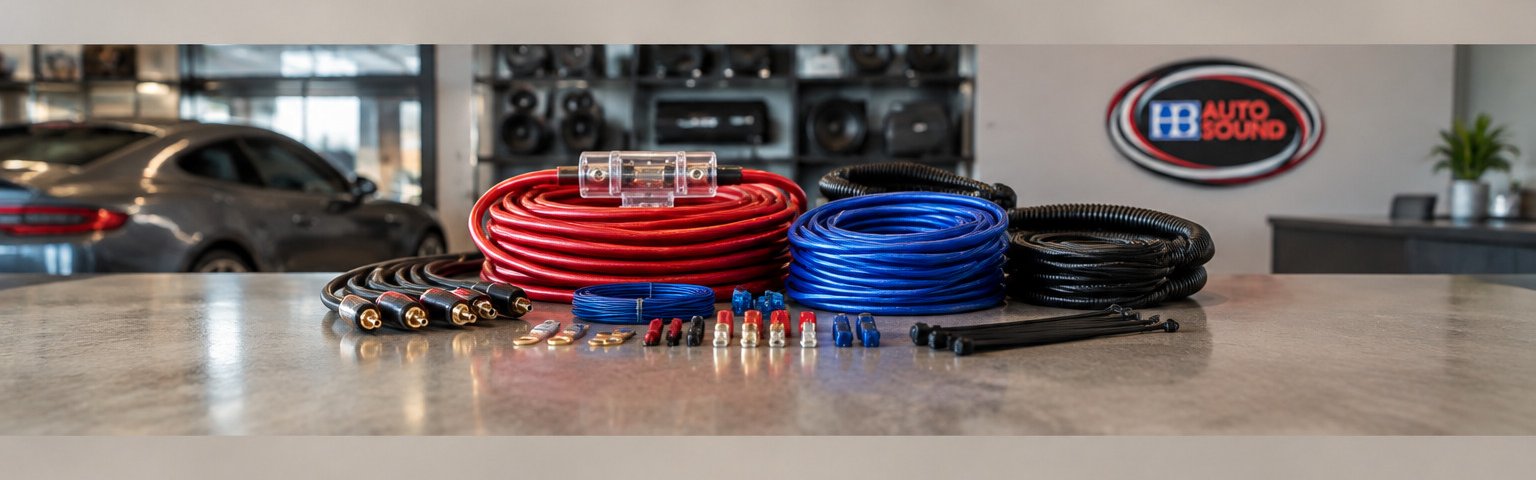
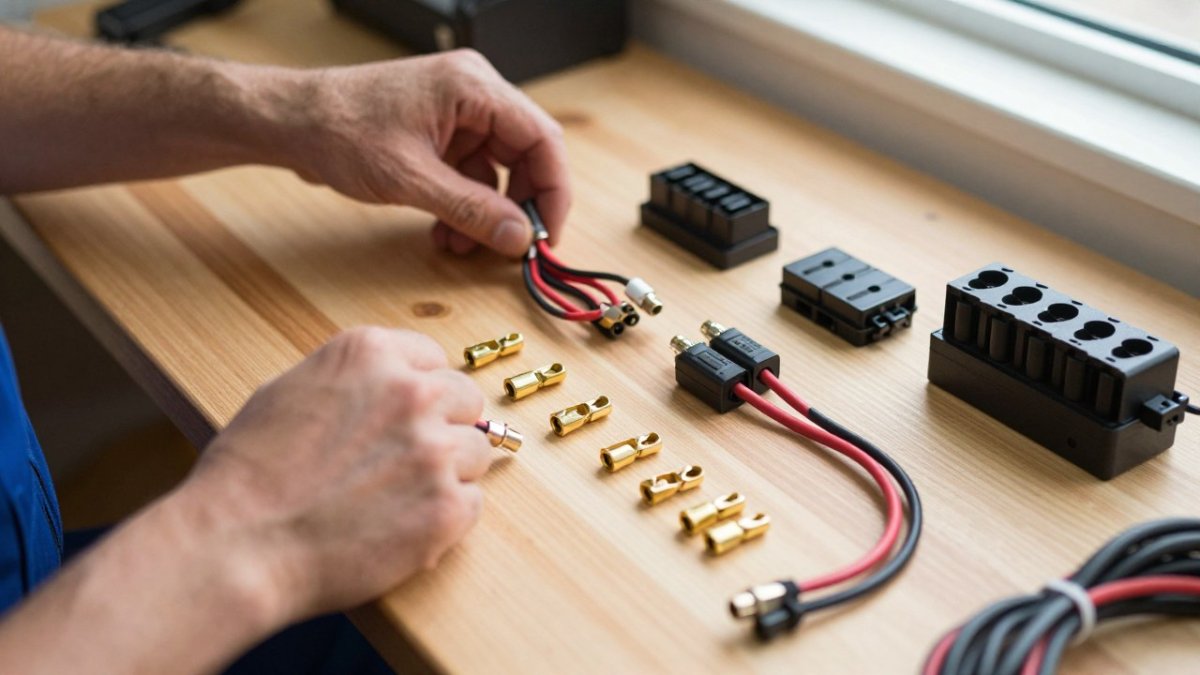
A complete amplifier wiring kit contains the power wire, ground wire, remote turn-on wire, RCA signal cables, an inline fuse holder with fuse, ring terminals, and often a distribution block for multi-amp builds.
Walk through the parts:
- Power wire: carries current from the battery to the amplifier and must be the largest conductor in the kit.
- Ground wire: returns current to the chassis; it should match the power wire gauge, never smaller.
- Remote turn-on wire: a thin lead that tells the amplifier to switch on with the head unit.
- RCA cables: carry the low-level audio signal and need shielding to keep noise out.
- Fuse holder and fuse: protect the power wire from a short circuit at the battery end.
- Ring terminals and connectors: make secure, corrosion-resistant connections at the battery, ground, and amplifier.
A common mistake is buying a kit that includes thick power wire but thin ground wire. Current has to complete the circuit, so a restricted ground path cancels out the benefit of the larger power cable.
Reading a Car Audio Wire Gauge Chart Correctly
A car audio wire gauge chart maps American Wire Gauge (AWG) numbers to the current a cable can safely carry over a given length.
Most people read the chart backward. They pick the gauge that matches their amplifier's wattage and stop there.
Here is the sizing method we use, written so you can reproduce it at home.
- Find the current. Use the amplifier's fuse rating as the working current. A 60-amp fuse means plan for roughly 60 amps; a 100-amp fuse means plan for roughly 100 amps. If the amp lists a rated current draw, use that instead.
- Measure the run. Measure the one-way distance from the battery positive terminal to the amplifier, following the actual route through the firewall and trim, not a straight line. Add a foot or two for service loops.
- Apply the length factor. For runs under 10 feet, the chart's short-run column applies. For 10 to 15 feet, move one gauge thicker than the short-run recommendation. For 15 to 20 feet, move two gauges thicker. Beyond 20 feet, move three gauges thicker or reconsider the amplifier location.
- Check voltage drop. As a rule of thumb, 4 AWG copper at 100 amps over 20 feet drops roughly half a volt; 8 AWG at the same current and length drops several times that. If your combination lands near the edge, size up.
A practical reference for copper cable at a 0.5-volt drop target: 8 AWG suits roughly 40 to 50 amps up to about 10 feet; 4 AWG suits roughly 100 amps up to about 20 feet; 2 AWG suits roughly 150 amps up to about 20 feet; 1/0 AWG suits roughly 250 amps up to about 20 feet. Confirm these against the manufacturer's own chart for the specific cable.
When the chart puts you between two gauges, size up. The thicker cable runs cooler, delivers cleaner power, and leaves headroom for a future upgrade. The cost difference between 8 AWG and 4 AWG is small next to the cost of replacing a melted run or a starved amplifier.
Watch out: CCA cable carries less current than copper at the same gauge, so if you are sizing around a CCA kit, move up one gauge from the copper recommendation.
For copper cable at a 0.5-volt drop target, these planning ranges cover most builds.
| Gauge | Current | Length |
|---|---|---|
| 8 AWG | roughly 40 to 50 amps | up to about 10 feet |
| 4 AWG | roughly 100 amps | up to about 20 feet |
| 2 AWG | roughly 150 amps | up to about 20 feet |
| 1/0 AWG | roughly 250 amps | up to about 20 feet |
OFC vs CCA Car Audio Wire: What the Conductor Actually Tells You
OFC (oxygen-free copper) wire uses nearly pure copper conductor, while CCA (copper-clad aluminum) wire uses an aluminum core with a thin copper skin.
The gap matters most in car audio because current demand is high and cable runs are long. CCA wire can work in low-power situations, but it is more prone to voltage drop and corrosion at the terminations. For a subwoofer amplifier pushing real power, OFC is the safer choice.
Verifying the claim is the hard part. Look at the cut end of the wire: true OFC is copper-colored all the way through, while CCA shows a silver aluminum core under a thin copper layer.
Fuse Rating and Placement as a Safety Procedure
Fusing is a safety procedure, not a formality. The inline fuse protects the power wire, not the amplifier.
Size the fuse to the wire, not to the amplifier's marketing wattage. A fuse rated above the cable's current capacity lets the wire overheat before the fuse blows. A fuse rated far below it will nuisance-blow on normal peaks.
A workable procedure:
- Pick the wire first. Choose the gauge using the sizing method above. The wire sets the ceiling.
- Set the fuse at or below the wire's capacity. For copper cable, 8 AWG is commonly fused at 50 amps or less, 4 AWG at 100 to 125 amps, 2 AWG at 150 to 200 amps, and 1/0 AWG at 250 to 300 amps. These are planning ranges; confirm against the cable manufacturer's rating.
- Do not exceed the amplifier's own fuse rating. If the amplifier has a 60-amp onboard fuse, a 100-amp inline fuse at the battery adds no protection for the amp and only protects the wire. That is acceptable if the wire is rated for 100 amps, but never install an inline fuse larger than the wire can carry.
- Place the holder at the battery end. Mount it rigidly, keep the run from the battery positive to the fuse as short as practical, and protect that short segment with loom.
- Use the correct fuse type. ANL and MEGA fuses handle high current in main runs; mini-ANL and AGU suit smaller systems. Match the holder to the fuse style, and carry a spare of the same rating.
Watch out: skipping the battery-end fuse, or installing it in the trunk near the amplifier, leaves a long unfused run of live cable that can short against metal and start a fire. That is a symptom of a wiring fault, and our guide to troubleshooting electrical issues after stereo installation walks through how to trace it safely.
A second safety layer is the ground connection. Keep the ground run as short as possible, scrape the chassis to bare metal, and use a star washer and a bolt torqued so the ring terminal cannot shift.
What a Car Audio Wiring Diagram Should Show Before You Cut Anything
A usable car audio wiring diagram shows the power path from battery to fuse to distribution block to amplifier, the ground path from amplifier to chassis, the remote turn-on route from head unit to amplifier, and the RCA signal path from source to amp.
Before you cut a single cable, confirm the diagram matches your actual vehicle and equipment. Factory harness colors vary by make and model, and a diagram copied from a different vehicle can send power down the wrong lead.
If you are mapping wiring as part of a larger build, our complete custom car audio upgrade guide shows how the electrical plan fits alongside speakers, enclosures, and tuning.
Routing, Pass-Throughs, and Abrasion Protection by Vehicle
Routing is where most DIY kits fail. The power cable must run through a factory grommet or a properly sealed pass-through in the firewall, kept away from sharp metal, hot exhaust components, and moving parts.
Keep power and signal cables separated. Running RCA cables alongside the power wire invites noise into the signal path, so route signal down one side of the vehicle and power down the other where possible.
Vehicle layout changes the plan. This is the part of the job our team handles daily, and you can see how routing and installation fit into the full process in our guide to what to expect during a professional car audio installation.
Bring Your Amplifier Specs In and We Will Size the Kit
The safest way to get this right is to match the kit to the exact amplifier, vehicle, and listening goal before anything is ordered. Bring us the amplifier model, its fuse rating or current draw, and the mounting location, and we can recommend the right components for your use and vehicle.
At HB Auto Sound OC, we offer a good-better-best path so you can see the trade-offs clearly, and we stock select lines chosen for reliability and customer satisfaction. Our certified installers handle car audio installation, including custom fabrication, for cars, boats, and RVs, and our car audio installation services cover stereo and head unit installs, speaker upgrades, and amplifiers. When you are ready to choose the right kit, contact our team with your specs.
Wiring a system correctly takes patience and the right parts, and guessing at gauge or fuse ratings is how good gear ends up sounding average.
Frequently Asked Questions
How do I choose the right wiring kit for a car amplifier?
Start with the amplifier's fuse rating, not its marketing wattage, then match power and ground wire to that current over your actual cable run. Add a fuse holder within 18 inches of the battery, a ground cable as thick as the power wire, and RCA cables long enough to reach the head unit without stretching. A kit that includes every one of those parts saves you from buying pieces separately. Bring your amp specs to a shop and the sizing can be confirmed before you buy.
Is OFC or CCA wire better for car audio?
OFC (oxygen-free copper) conducts better and resists corrosion, which matters in the humid, hot environment of a vehicle. CCA (copper-clad aluminum) is lighter and cheaper but carries less current for the same gauge, so a CCA kit must be larger to match an OFC kit's performance. Check the printed jacket for the conductor type and compare actual strand count and weight, since some kits label CCA as copper. For a long run or a high-current amplifier, OFC is the safer choice.
Can I use a 1000-watt amp wiring kit with any amplifier?
No. Kits labeled by wattage are marketing shorthand, and the number rarely matches your amplifier's real current draw. Two amps rated at the same wattage can pull very different amperage depending on class and efficiency. Compare the kit's wire gauge and fuse rating against your amplifier's fuse rating and cable length instead. A kit that is too small will cause voltage drop, heat, and poor bass response, while an oversized kit adds cost without benefit.
What should a complete car audio wiring kit include?
A complete kit should contain power wire, a ground cable of equal gauge, a fuse holder with the correct fuse, ring terminals, a remote turn-on wire, RCA signal cables, and enough speaker wire for your setup. Multi-amp systems also need a distribution block and additional fuses. Check that the terminals are crimp-style with proper insulation and that the RCA cables are shielded to prevent noise. Missing pieces are the most common reason a kit ends up costing more than expected.

Ready to Upgrade Your Ride?
Call us at (714) 842-1250 or visit us at 16732 Beach Blvd Ste A, Huntington Beach.
Get a Free Quote