
How to Handle Window Tint Installation in Cold Weather
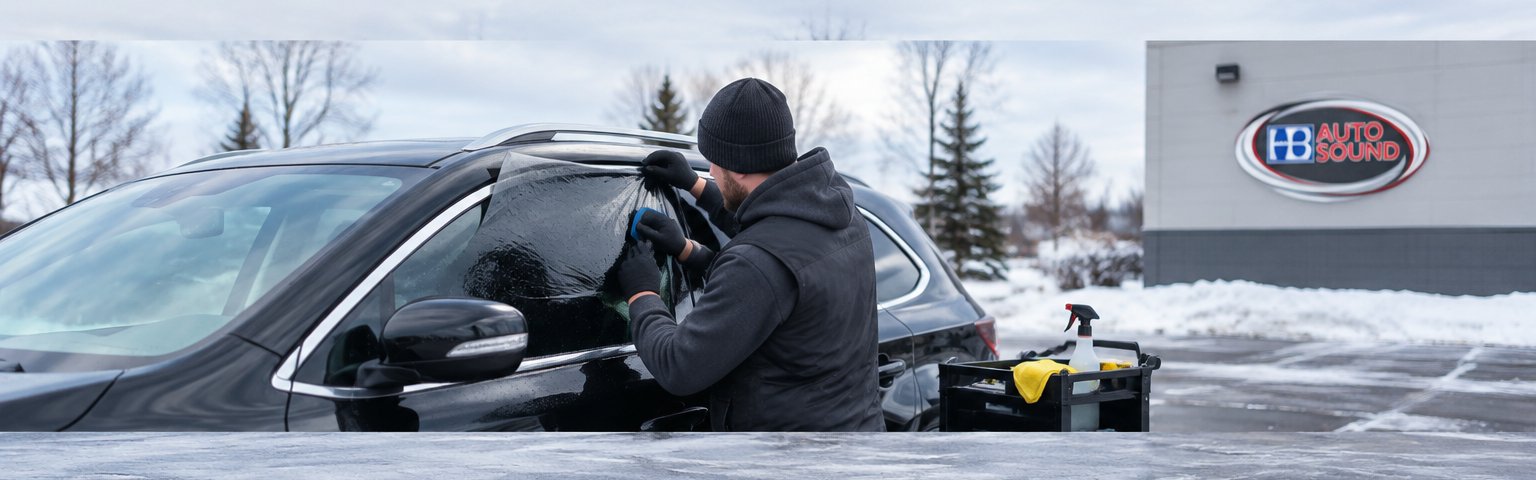
Last Updated: November 5, 2026
Quick Summary
Window tint installation in cold weather works only when the film goes on in a warm, controlled indoor space and gets enough cure time before it faces the cold. Cold makes film stiff and slows adhesive bonding, so warm the bay and the glass first, then keep the car warm for the first few days.
- Cold glass and stiff film cause weak adhesion, especially along the film edges.
- Warm the bay before the car arrives and let the glass warm up inside it.
- Winter curing takes longer, so expect light haze and small water pockets near edges.
- Do not roll down the windows until the film has fully cured in cold weather.
- Call the installer if an edge lifts or a bubble remains past the manufacturer's cure window.
Table of Contents
- Can You Tint a Car in the Winter? What Cold Weather Means for Installation
- The Right Temperature for Window Tint Installation
- Window Tint Curing Time in Winter: What to Expect
- Cold Weather Window Tint Bubbles: Causes and Prevention
- A Step-by-Step Cold-Weather Installation Workflow
- DIY vs. Professional Installation: Deciding What's Right for You
- Aftercare and Troubleshooting for Winter Tint
- Get Expert Window Tint Installation for Your Vehicle
- Frequently Asked Questions
Can You Tint a Car in the Winter? What Cold Weather Means for Installation
Yes, you can tint a car in the winter. Window tint installation in cold weather works, but only when the film goes on in a warm, controlled space and gets enough cure time before it faces the cold. Skip those two conditions and the job can fail.
At HB Auto Sound OC, winter tint jobs follow a different playbook than summer ones. The film itself is fine. The environment around it is what decides the outcome.
Here is the short version:
- Cold makes tint film stiff and harder to shape
- Adhesive needs warmth to bond to automotive glass
- Moisture trapped under the film takes longer to leave
- An indoor bay solves most of these problems
Below, we break down exactly how temperature, humidity, and cure time affect the job, plus a workflow you can follow.
How Low Temperatures Affect Film and Adhesive
Window tint film is a layered product: a polyester sheet, a scratch coat, and a pressure-sensitive adhesive. That adhesive is the weak point in cold weather.
When glass and film are cold, the adhesive turns stiff. It does not flow into the microscopic texture of the glass the way it does at room temperature. The result is weaker adhesion, especially along the film edges.
Cold also changes how the film handles. A stiff sheet fights you during squeegeeing. It creases easier. It conforms to curves and defroster lines worse. Installers who rush a cold sheet usually pay for it later with lifting edges.
Why Indoor, Temperature-Controlled Spaces Matter
An indoor bay is the single biggest factor in a winter tint job. A temperature-controlled space does three things at once:
- Keeps the film flexible and workable
- Lets the adhesive bond properly to the glass
- Blocks wind, dust, and moisture from contaminating the surface
A heated garage works well if it holds steady heat and stays clean. The space needs to be warm before the car rolls in, not warming up around it. A cold car in a warm bay still has cold glass for a while.
The Right Temperature for Window Tint Installation
Film and adhesive behave best within a moderate, stable range of shop temperature and humidity, and cold glass and stiff film make a job harder to complete well.
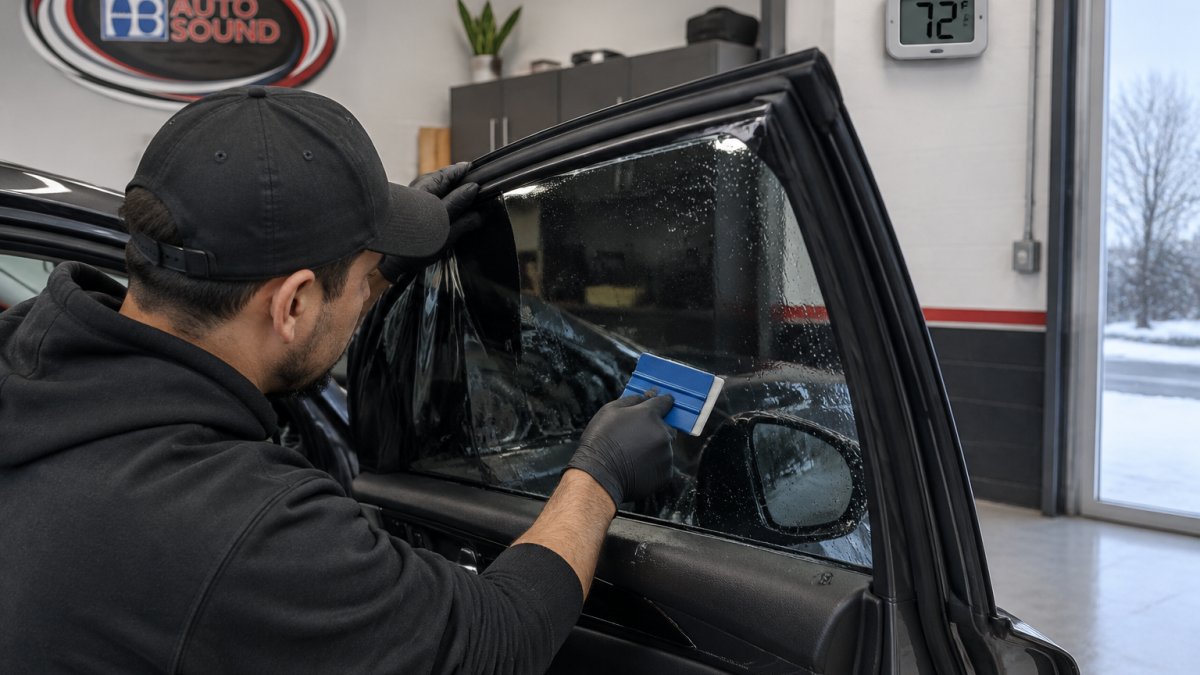
Air temperature alone is not the whole story. Glass temperature, humidity, and surface cleanliness matter as well:
- Glass temperature. Cold glass pulls heat out of the film and adhesive on contact. Let the vehicle sit in the bay until the glass warms.
- Humidity. High humidity slows drying and raises the odds of haze and water pockets. Moderate, stable conditions are easier to work with than a damp, fluctuating space.
- Surface cleanliness and airflow. Dust and airborne moisture contaminate the bond. A clean bay with gentle air movement is preferable to a warm but dusty one.
For exact figures, follow the film manufacturer's instructions. Brands publish their own recommended application conditions, and those specs govern the warranty. You can review the International Window Film Association's installer guidance for general industry standards on application conditions.
A practical rule: if you can hold your bare hand flat on the glass for several seconds without discomfort, the glass is likely warm enough to begin. If it feels sharply cold, give it more time in the bay.
Window Tint Curing Time in Winter: What to Expect
Window tint curing time in winter runs longer than in summer. Curing is the process where the water in the adhesive solution evaporates through the film. Warm weather speeds that up. Cold weather slows it down.
A winter job generally takes longer to cure than a summer one, depending on film type, humidity, and how warm the car stays. Do not judge the job on day one.
What you will likely see during the cure:
- Light haze that clears on its own
- Small water pockets near the edges
- Slight cloudiness in cool, damp conditions
These are normal early on. The key is that they shrink and disappear over time. If they do not, that is a different conversation.
Cold Weather Window Tint Bubbles: Causes and Prevention
Cold weather window tint bubbles usually come from moisture trapped under the film, not from a bad roll of tint. The adhesive solution needs time and warmth to evaporate. Cold slows that process, so water sits longer and shows up as small pockets.
Prevention starts before the squeegee touches the glass:
- Warm the bay and the glass first
- Use the right amount of slip solution, not too much
- Squeegee firmly and work edges carefully
- Keep the car warm during the first days of cure
For a deeper walkthrough of the causes and fixes, read our guide on preventing bubbles in professional window tinting.
Water Pockets vs. Trapped Air
These look similar and mean different things.
| Issue | What Causes It | What It Looks Like | What to Do |
|---|---|---|---|
| Water pockets | Moisture still curing | Small cloudy dots, often near edges | Wait for cure time |
| Trapped air | Poor squeegee work or contamination | Sharp, defined bubbles that stay put | Needs installer review |
| Haze | Slow drying in cool, damp air | Milky film across the pane | Wait, then reassess |
| Lifted edges | Weak adhesion from cold glass | Film peeling at the border | Needs rework |
Water pockets are part of the process in winter. Trapped air is an installation defect. Knowing which one you are looking at saves a lot of unnecessary worry.
A Step-by-Step Cold-Weather Installation Workflow
Here is a general workflow for a winter tint job, start to finish.
- Warm the bay first. Bring the shop to a steady comfortable temperature before the car arrives.
- Let the vehicle acclimate. Give the glass time to warm up. Cold glass ruins adhesion.
- Clean the glass thoroughly. Prep matters more in winter because contamination is harder to spot.
- Cut and shape the film indoors. Keep the film warm and flat until it goes on.
- Apply with controlled slip solution. Too much water means longer cure and more pockets.
- Squeegee in firm, overlapping passes. Work from center to edges, then finish the borders.
- Inspect and set expectations. Point out normal early haze and water pockets.
- Keep the car warm afterward. Park inside or in a garage when possible for the first few days.
DIY vs. Professional Installation: Deciding What's Right for You
DIY tint in cold weather is where most home jobs go wrong. The film fights you, the adhesive does not bond, and the mistakes show up weeks later as bubbles and peeling edges.
Do it yourself only if you can check every box:
- A heated, clean, dust-free space
- Time to let the car sit and cure
- Experience handling film on curves and defroster lines
- Patience to redo a panel if it fails
Hire a pro if any of those are missing. Professional installation brings a controlled environment and proper prep. That is the real difference: not just skill, but the conditions the job happens in.
If you are weighing the two, our car audio and installation services show how we approach the details on vehicle work. Our vehicle audio specialists handle car audio installation and custom box and enclosures built for your specific vehicle.
Aftercare and Troubleshooting for Winter Tint
Aftercare decides whether a winter tint job holds. The first two weeks matter more in cold weather than in summer because the adhesive is bonding in a slower, cooler environment. Follow these rules:
- Do not roll down the windows until the film has fully cured, which takes longer in cold weather.
- Skip washing the inside of the glass during cure.
- Park in a garage or warm space when you can; overnight cold slows curing.
- Do not pick at edges or press on water pockets.
- Clean the glass only after cure is complete.
Watch out: rolling the windows down too early is the most common winter mistake. It can catch a soft edge and peel the film before the adhesive has fully bonded.
Distinguishing Normal Winter Curing from a Defect
Winter curing produces a predictable set of symptoms that resolve on their own. A defect produces symptoms that persist or worsen. Use this framework:
| Symptom | Normal Curing (wait) | Possible Defect (call installer) |
|---|---|---|
| Light haze or milky film | Fades over 1-3 weeks in cold weather | Still visible after 4 weeks, or worsens |
| Small water pockets near edges | Shrink and disappear over 1-2 weeks | Grow, merge, or remain unchanged after full cure window |
| Sharp, defined bubbles | Rare, usually not normal | Stay put or multiply; often trapped air or contamination |
| Edge lifting or peeling | Not normal at any stage | Needs rework; may indicate cold-glass application or poor prep |
| Contamination specks under film | Not normal | Needs installer review; may require panel replacement |
A common pattern is that water pockets near the edges clear first, while pockets in the center of a large pane take longer. Film type matters: some films cure faster than others, and manufacturer cure-time guidance should override generic timelines. If the film manufacturer specifies a cure window, judge the job against that window, not against a summer job you remember.
When to Call the Installer
Call the installer if any of the following apply:
- A bubble or pocket is still present after the manufacturer's stated cure window.
- An edge lifts or peels at any point.
- Haze does not clear as the film cures.
- You see contamination (specks, hair, grit) trapped under the film.
Most issues caught early are fixable. Ignored ones usually are not. Keep the car warm during the cure window, document the date of installation, and note when symptoms appear, that record helps the installer diagnose whether the cause is normal curing or an application defect.
Get Expert Window Tint Installation for Your Vehicle
Winter does not have to mean waiting until spring for tint. It means doing the job in the right conditions, with the right cure time, and with a shop that knows the difference.
At HB Auto Sound OC, our certified installers work in a controlled space. We have spent more than 15 years serving drivers, and we recommend options suited to your vehicle and your goals. Heat rejection, UV protection, and clean edges all come down to how the job is done.
Get started with HB Auto Sound OC and tint your vehicle with confidence this winter. Reach out through our contact page to ask about your options and book your installation.
Frequently Asked Questions
Can I install window tint in cold weather?
Yes, but it requires the right conditions. Professional installers use temperature-controlled indoor spaces to keep the glass and film warm enough for proper adhesion. If you try to install tint outdoors in cold weather, the adhesive may not bond correctly, leading to peeling or premature failure. For the best results, always have tint applied in a heated garage or shop.
How long does window tint curing time in winter take?
Curing takes longer in winter because moisture evaporates more slowly in cold air. Winter curing generally takes longer than summer curing. You may notice slight haze or small water pockets during this time, which is normal. Avoid rolling down your windows and park in a heated space if possible to speed up the process.
What temperature should it be to tint windows?
Film manufacturers publish recommended application conditions, and cold conditions make the film stiffer and the adhesive less pliable. Follow the manufacturer's guidance for the film you choose.
Can cold weather cause bubbles in window tint?
Cold weather itself doesn't create bubbles, but it can make installation more challenging. If the film is applied in a cold environment, the adhesive may not activate fully, leading to trapped air or water pockets that don't dissipate. Professional installers use heated spaces and proper squeegee techniques to prevent this. Small water bubbles during winter curing are normal and generally disappear as the film cures.

Ready to Upgrade Your Ride?
Call us at (714) 842-1250 or visit us at 16732 Beach Blvd Ste A, Huntington Beach.
Get a Free Quote